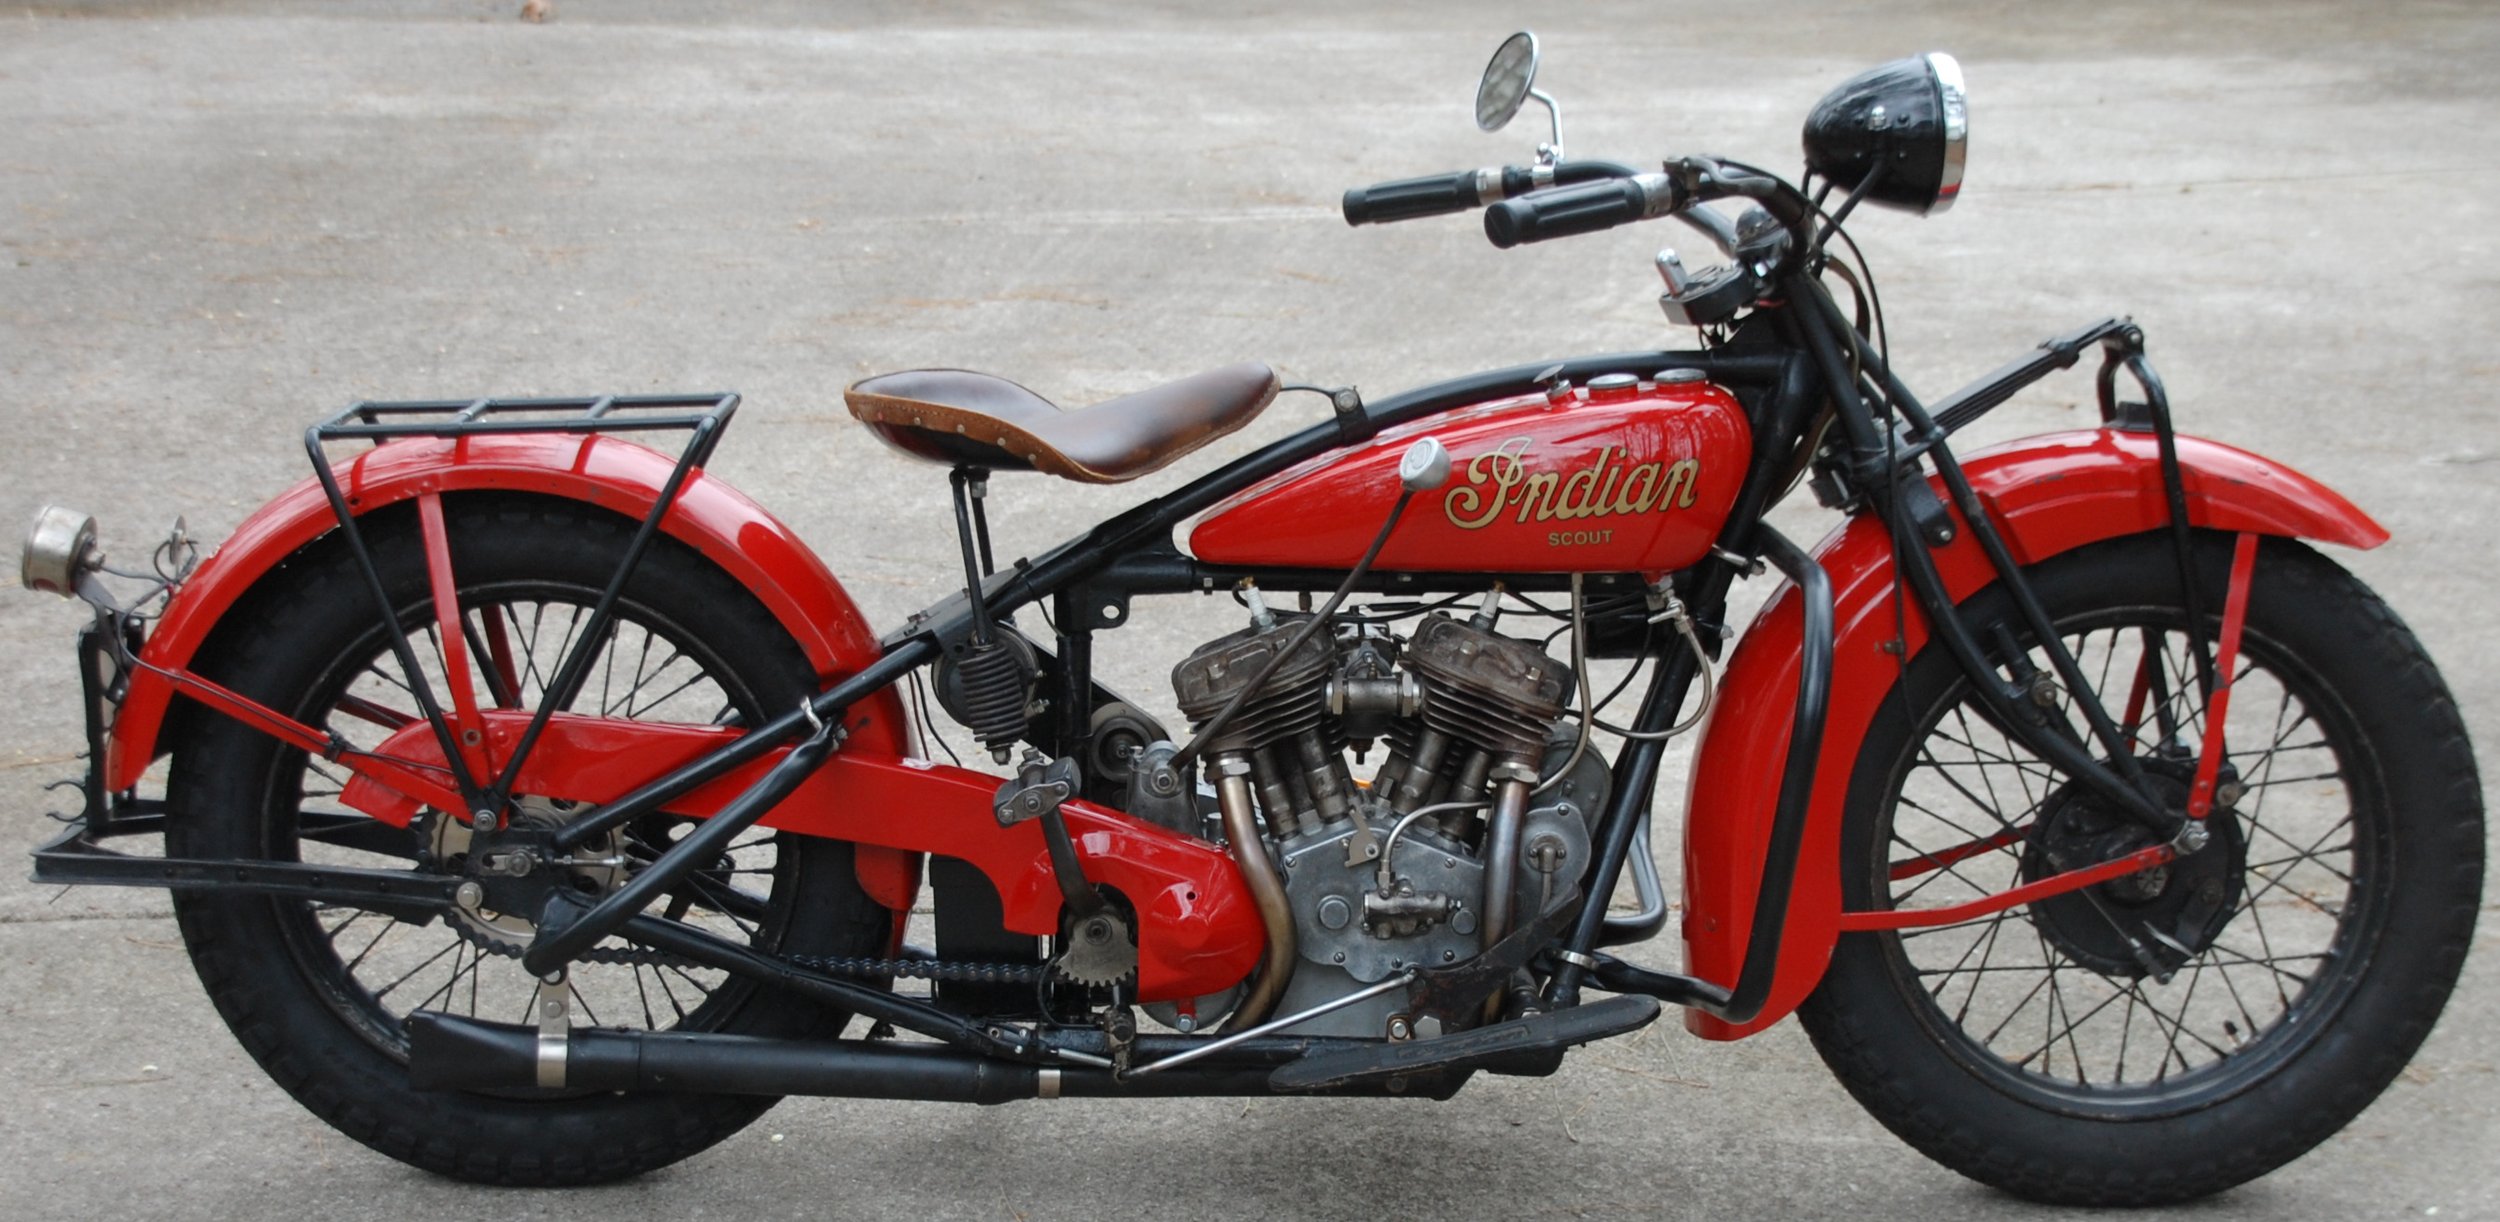
Since the May ‘22 update on my ‘29 Scout project, I’ve continued to make slow but steady progress. Last update I had completed a short ride and was trying to figure out how to make the original 1-piece chainguard and exhaust be installed at the same time. Either one or the other was possible, but both at the same time was a real challenge. After lots of attempts, I finally found the magic sequence that worked for me. Fortunately I wrote it all down last year because I got to do it again a couple of weeks ago - and it worked again!
My Scout came with a Splitdorf DU-5 generator that had been modified with an external regulator. I removed the regulator, and verified that the generator motors, but I have not found anybody who’s in the business of restoring these models. I looked into replacing it with a modern version from a source in Portugal, but decided to go with a “total loss” electrical system for now. The generator is in place for looks, but not connected nor is there a belt driving it. I installed a pair of Power Sonic PS-632 6 Volt rechargeable batteries, a 6 volt LED board in the taillight that I got from England, (not the original light, but a cheap vintage unit I picked up at Denton), and a LED headlight bulb from Paul Benassi to replace the BA20D that was in place. Paul Benassi was very helpful in finding a bulb that would fit into the can. With my batteries only powering the two LEDs, I won’t have to worry about a generator for a while.
My Scout came with an Indian-stamped Linkert M7 carburetor. I used Cecil’s technique for tuning the carb with great results, and it’s quite simple:
Warm up engine
Set spark at full advance
Turn low speed needle in ¼ turn at a time until engine falters or dies, then back out 5 clicks
Set spark half-advanced
Blip the throttle
If the engine coughs/falters, hi-speed needle is set too lean
If the engine backfires, hi-speed needle is set too rich
After seeing Dorsey’s melted WL piston, I decided to invest some time to ensure my intake was in good condition. I fabricated a leak tester from a piece of flat steel and a tire valve. I ground the mating surfaces of the carb, manifold, and carb spacer on sandpaper taped to a sheet of glass (flat surface) with a bit of kerosene for lubricant. When I had everything reasonably flat, I mounted everything up with new gaskets and YamaBond, dropped the valves, sprayed everything with soapy water, and started pumping the bicycle pump. The only air I could get to bubble out was around the mounting holes of my tester. I added some O-rings to the fasteners, and got the same result. I’m going to say that’s good enough, and my intake is pretty tight. I’ll monitor my plugs closely as my rear plug had been a bit darker than my front. Might try different plugs to see if I can even them out. I’m running Champion D16s (cold plugs) at the moment.
I’ve put a little more than 200 miles on the bike so far. Checking oil before and after each ride, adjusting the oiler, tightening fasteners, etc. Knock on wood, it’s been without any serious issues so far. I had my dash light nut vibrate loose - that’s the only thing that’s gone wrong so far. Late last year I was asked to bring the Scout to the Barber’s Vintage Festival for the Century Parade. I know it’s not 100 years old, but close enough. During the lunch break for the racers, Erik, myself, and 6 others were introduced - oldest bike to newest - and rode one lap of the Barber Motorsports Track. My Scout performed like a champ. Afterwards we parked in front of the museum and talked to folks who came to look at our machines. One of the photographers caught me having the time of my life.
After the Barber’s ride, I decided to take the winter to address a couple of issues. I was running the chain and sprockets that came with the bike. Close inspection revealed that they were severely worn out. I also figured out from the Rider’s Instruction Book that the 18 & 36 tooth sprockets that were in place were appropriate for a sidecar setup. I obtained and installed new 21 and 36 tooth sprockets and NOS Duckworth chain. I’m looking forward to seeing how the bike performs with gearing more appropriate for a solo setup.
The last winter project was to decide about paint. My chainguard was in primer when I bought the bike, and it had a nasty gash through the section that wraps around the frame. The tank was leak-free, but had previously been coated with “Kreme”. Problem was that the oil tank was also coated, and the inlet for the hand oil pump was blocked. There were runs of Kreme on the outside of the tank, the paint was flaking off, and there were remnants of stickers bonded to the paint. I looked into a replacement tank from India, and talked with a restorer in California who would completely disassemble and re-solder my tank. In the end, I decided to strip the Kreme out of the tank and see what I had to work with. The plan was to use a 2-part coating from Caswell (Dragon’s Blood) at the advice of a friend who had good luck with it. I learned quickly that hot acetone expands significantly and it’s near impossible to keep it inside the tank. I did multiple rounds of soaking, scrubbing, and sloshing metal screws around the inside. I pulled gobs of half-dissolved Kreme out of both tanks, but could not get it 100% clean. I finally decided to ship the tank to Richard Gaudio in Florida (dixchief@gmail.com) for professional stripping and coating with Red-Kote. That was a good decision. Richard verified the integrity of the tanks, and did a fantastic job of getting the Kreme out, and even Red-Koted the seams inside the oil tank. I tracked down the local painter who had done some quality insurance work on a BMW bike for me through the local dealer. He agreed to paint my tank and chainguard (and repair the hole), apply tank decals, and match the (incorrect) red color existing on the fenders. I decided to not have pinstripes done as I wanted to maintain the condition of the fenders. He wasn’t quick, but very conscientious. He wasn’t satisfied with the first set of decals he applied, and called me in to show me the issues. I bought a second set of decals which laid down much better. He nailed the color match, and I’m pleased to have retained the “as-found” color of the bike. It’s pleasing to me to have most of the paint with it’s original patina, but a good-looking tank with the Indian logo.
At this point, I’m ready to add oil and gas and get her back on the road. I’m going to claim that I’m “done” at this point, as I have no other upgrades planned. I know that it will always be a project, and I’ll be wrenching on it until I die. It’s been such a satisfying experience to bring the old girl back to life. I’ve kept in touch with the previous owner, and she’s pleased as well.


